
Harvest Garland Tutorial
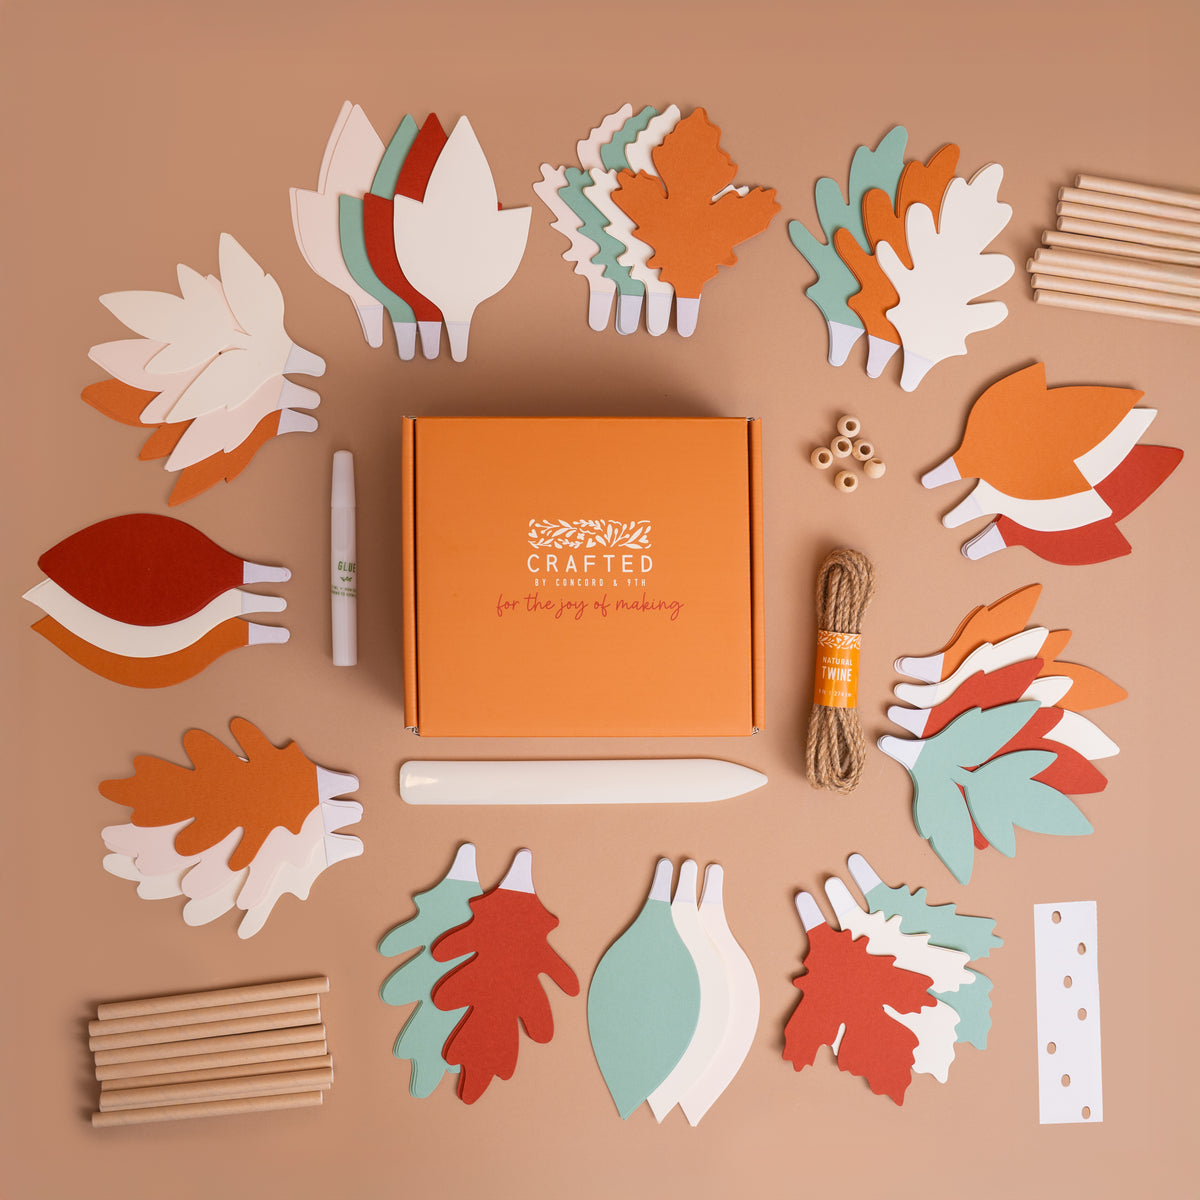
Kit Contents
- Leaves: Cayenne (22), Spiced Cider (25), Eucalyptus (25), Almond (20), Ivory (40)
- Spacers/Straws: 19
- Beads: 6
- Twine: 9 feet
- Bone Folder
- Glue
To have on hand:
- Pencil
- Tape
- Hot glue gun (if desired)
Instructions
Craft Time: ~ 2 hours
Preparation Work
-
Prepare the glue bottle: Open the lid and remove the small stopper from the bottle. Screw the valve cap back on.
-
Leaf Placement Template: We’ve included a placement guide to help you space the leaves evenly on each spacer/tube. The template can be found in the bag with the spacers.
-
Assemble the template: Wrap the paper guide around a spacer to get a good fit. Make sure it is snug, but not too tight—you’ll need to remove the guide and use it on the remaining spacers.
-
Once you have the right fit, peel off the adhesive backing and press the ends together to create a tube.
-
Slide the template tube over a spacer.
-
Using a pencil, lightly mark each hole on the guide onto the spacer.
-
Remove the guide and repeat for all spacers.
Tip: The placement guide is just a suggestion. Once you get the hang of spacing the leaves, you may not need to use it. Feel free to adjust the placement and arrange your leaves however you like—there’s no wrong way to create your garland.
Prepare Leaves
-
Each section of the garland will consist of 7 leaves and 1 spacer.
-
Locate the bag labeled “Leaves”. The leaves are organized into 5 sets. Each set contains a variety of shapes and colors. Each set is separated by a sheet of paper.
-
Sort the leaves.
-
Remove the first set of leaves from the bag.
-
Separate the leaves into 7 piles (1 pile for each leaf type), placing the piles on your work surface.
-
Create your first cluster.
-
Take one leaf from each pile to create your first leaf cluster. These 7 leaves will be attached to one spacer.
-
With the adhesive strip facing down, use the bone folder to gently curl each leaf upward toward the front. Curling the leaves adds dimension and makes it easier to fit all 7 leaves onto one spacer.
-
Once you have curled the 7 leaves, it’s time to attach them to a spacer.

Attach Leaves


Tip: For faster assembly, use a hot glue gun to attach the leaves to the spacers.
-
Locate the bag labeled “Spacers.” You will attach the leaves to these spacers, with 7 leaves on each spacer.
-
Each leaf has an adhesive strip on the base. The adhesive holds the leaf in place while the glue dries. Using the pencil marks you made with the placement guide as a guide, peel off the backing from the adhesive strip. Align the adhesive strip with the first pencil mark, then press the leaf firmly onto the spacer. Hold in place for a few seconds.
-
Add a small drop of glue to the leaf and spacer, directly above where the adhesive strip ends. Be sure the glue touches both the paper leaf and the paper spacer - not just the adhesive tape.
-
Press firmly on the leaf for several seconds while the glue begins to dry.
Note: Glue is required for a permanent bond. The adhesive strip is designed to hold the leaf temporarily while the glue dries.
-
Move on to the next leaf in the cluster. Continue attaching leaves until all 7 leaves are attached to the spacer.
Tip: Don’t worry about getting the leaves perfectly spaced or completely covering the spacer. As you add the leaf clusters to the twine, the leaves will overlap and fill in, creating a beautiful, full garland.
-
Once all 7 leaves are attached, set the spacer aside to dry.
-
Repeat with the remaining leaves in the set. Take one leaf from each pile to create your next cluster, then attach the 7 leaves to a new spacer.
-
Move on to the next set. Remove the next set of leaves from the bag sort them into 7 piles and repeat the process.
-
Continue until you’ve completed 18 clusters.
-
Allow the glue to dry before attaching the finished leaf sections to the garland.
We’ve included one extra spacer in case one gets damaged or you need a replacement.
Assemble Garland
-
Remove the twine from the belly band. Measure 6 inches, fold that section in half, and tie a knot to make a hanging loop.
-
Thread 3 beads onto the opposite end of the twine.
Tip: If you have trouble threading the twine through the holes, wrap a small piece of tape around the end of the twine to create a firm tip.
-
Following the 3 beads, take one leaf section and thread the twine through the center hole of the tube. Continue with the remaining leaf sections.
-
When all the leaf sections are attached, thread the remaining 3 beads onto the twine to finish off the garland.
-
Tie another loop at the end of the twine to secure the beads and create a second hanging loop.
Display Your Piece
Your Harvest Garland is ready to enjoy! Find the perfect spot to display it and add a handmade touch to your fall décor.
Show off your creation! Tag us @craftedbyc9 and use #CraftedbyC9.