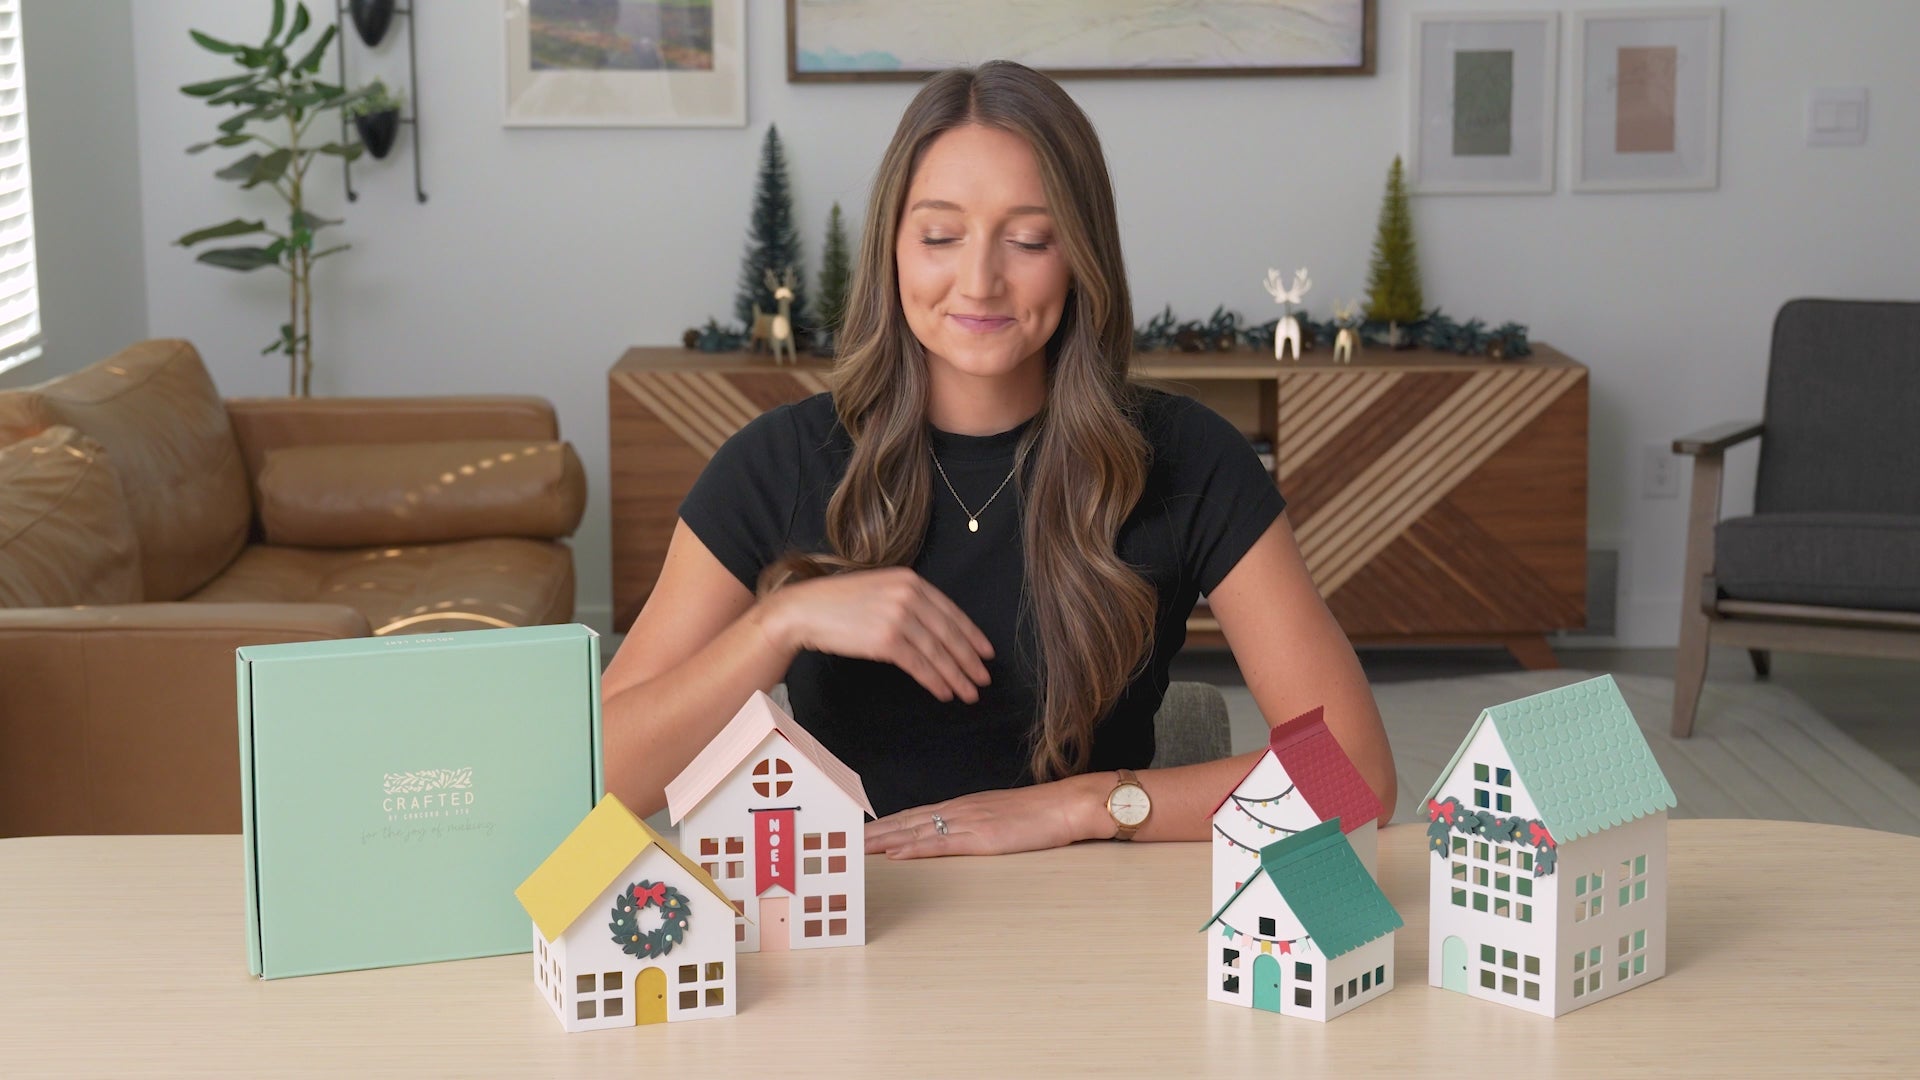
Holiday Lane Tutorial
Kit Contents:
-
Houses: 5
-
Roofs: 5
-
Decorative extras (Doors, Noel sign, string lights, garlands, & more)
-
Self-adhesive enamel dots
-
Double-sided foam adhesive squares
-
Glue
Instructions
House Assembly
-
Locate the labeled bags for one house and its matching embellishments.
-
Lay the house flat with the colored side facing up. Open your glue bottle by removing the stopper, then screw the valve back on. Apply a thin line of glue around the inside edge of the door frame. Place the door piece on top to cover the opening.
-
In the Extras bag, locate the small 2-paneled adhesive strip. Fold along the score line and peel the backing off one side of the adhesive strip. Add a small dot of glue every inch along the adhesive strip. Place the strip on the colored side of the house, along the right edge. Make sure half of the strip extends past the edge—this overhang will attach to the opposite wall. Fold the house into shape, then firmly press the adhesive tab to the inside of the connecting wall to close the structure. Hold in place for 30+ seconds for the glue to set.
-
Fold the roof along the score line. Locate the 3-paneled adhesive strip and fold along the score lines. Peel the backing off one side of the adhesive strip and add a few small dots of glue (just like you did with the wall adhesive). Place it inside the roof crease. Be sure to line it up with the center fold. Then do the same thing to the other side, folding it over and lining it up with the center fold. This will create a triangle shape that will hold the roof pitch. Set the roof on top of the house.
The Brickyard and Juniper houses each include an extra roof topper embellishment. Fold along the score lines, then peel the thick adhesive backing and attach the pieces together. Peel the smaller adhesive strips on both side edges, add a few dots of glue, and press the topper over the roof peak. Hold in place until the glue sets. -
Repeat for all five houses.
Juniper House Embellishments
-
Glue the pennant flags to the banner base, lining up the bottom points.
-
Glue the finished banner to the house, aligning the ends with the edges of the house.
Brickyard House Embellishments
-
Peel the enamel dots off their backing and stick them to the string light banner, covering the black circles. Use 4 of each color enamel dot. Tip: Use the tip of scissors or a needle to lift and place enamel dots precisely.
-
Glue the string light banner to the house, aligning the cascading points with the house edges.
Stardust House Embellishments
-
Lightly curl the leaf edges for added dimension.
-
Glue the leaves to the wreath base, applying glue only to the stem and first leaf. Slightly overlap the leaves as you go.
-
Add enamel dots to the wreath. Use 2 of each color.
-
Glue the bow center onto the bow. Glue the red bow to the wreath.
-
Attach the wreath to the house using 3-4 foam adhesive squares.
Nectar House Embellishments
-
Glue the glitter banner to the black base, lining up the bottom points.
-
Glue the “Noel” banner on top, aligning with the top of the glitter paper.
-
Attach the finished banner to the house using 2 foam adhesive squares.
Sea Glass House Embellishments
-
Lightly curl the leaf edges for added dimension.
-
Glue each leaf to the garland base, applying glue only to the stem and first leaf. Slightly overlap each leaf as you place them on the garland.
-
Glue the bow centers onto the bows. Glue the red bows to the corners of the garland.
-
Add enamel dots to the garland. Use 2 of each color.
-
Attach the garland to the house just above the middle set of windows using 3-4 foam adhesive squares.
Display Your Piece
Display your Holiday Lane village on a mantle, shelf, tabletop or anywhere that needs a festive touch.
Show off your creation! Tag us @craftedbyc9 and use #CraftWithCrafted on social media.

