

HOW TO MAKE
PAPER PINECONE
Access written and video instructions for your paper pinecone craft kit.
If you enjoy this experience, check out our Pinecone & Sprig craft kit here.

Paper Pinecone Craft Kit Tutorial
Kit Contents:
- Topper bead: 1
- Spacer beads: 7
- Pinecone layers: 8
- Twine
- Needle
Instructions
-
Start by separating each pinecone layer. Use your fingers or a pencil to gently curl each pinecone scale downward, ensuring the gold foil edge faces outward.
-
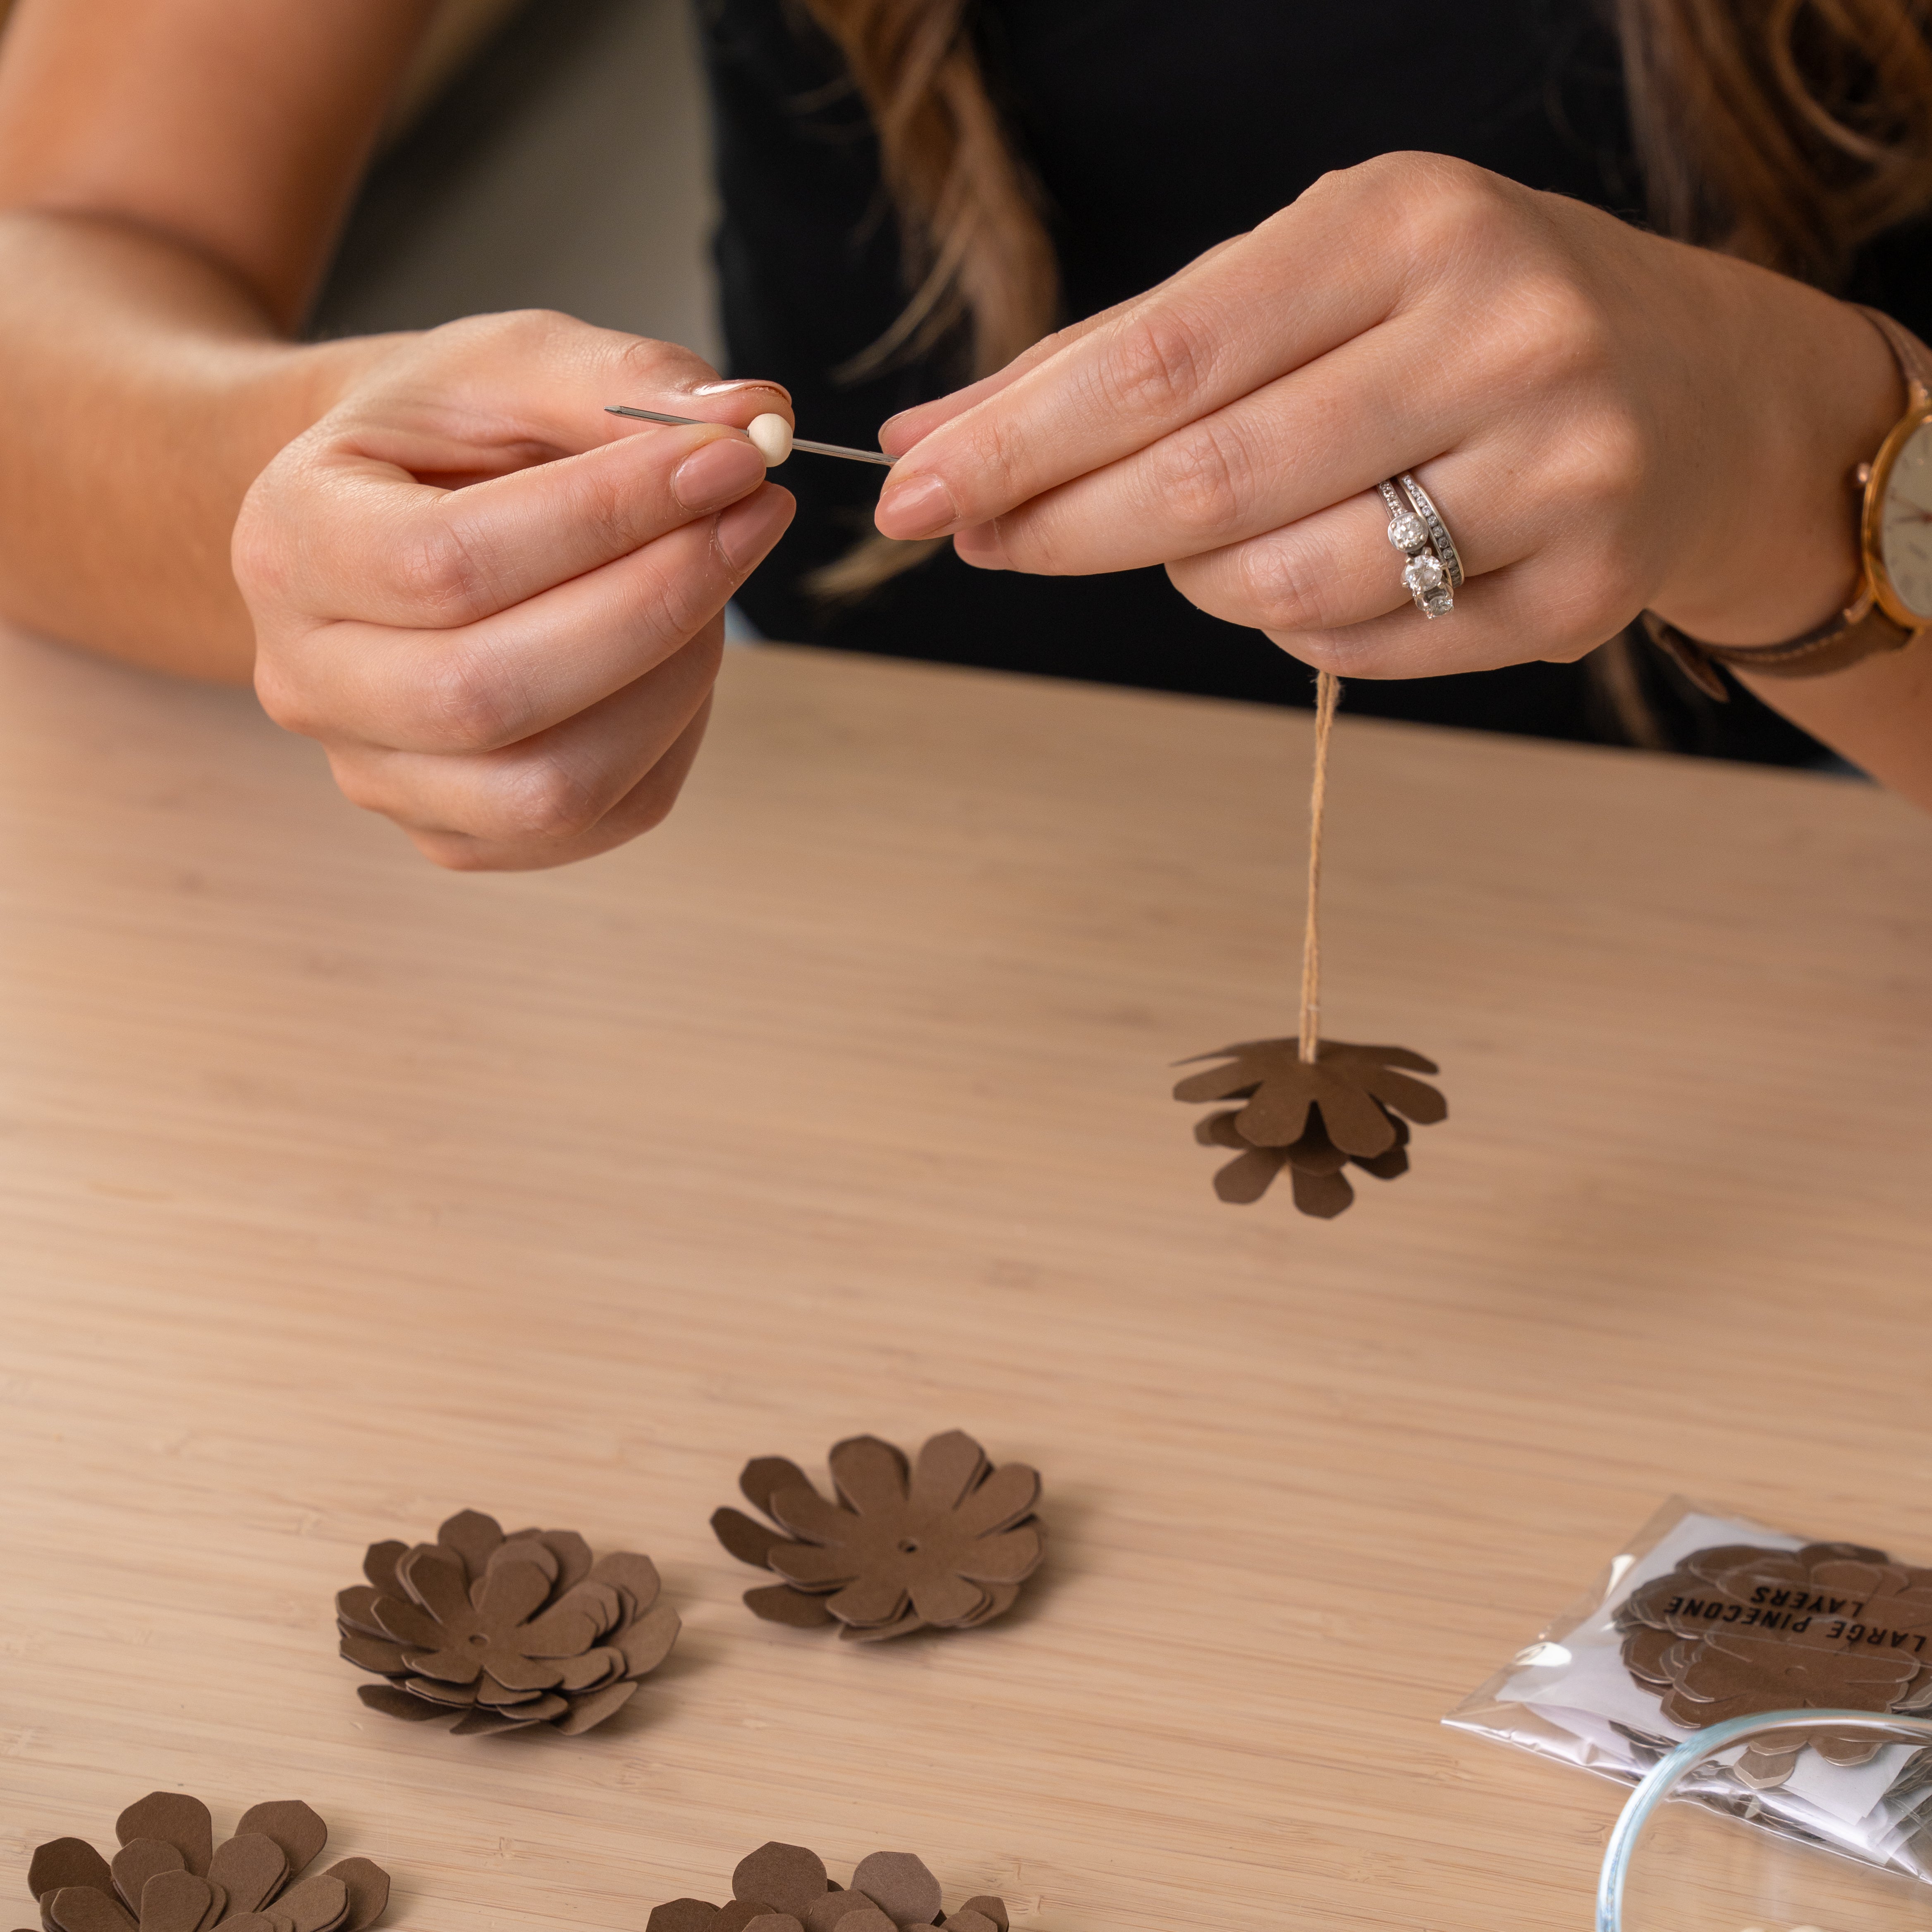
Next, thread your twine through the needle. String a small spacer bead onto the twine. Stop when the bead reaches halfway. Loop the needle back through the spacer bead in the same direction to secure it in place. Ensure it is centered on the twine.
-
Remove the needle, and thread both ends of the twine through the needle together.
-
Stack the pinecone layers onto the double-strung twine in this order, placing a spacer bead between each one (refer to the diagram below):
-
-
Small
-
Small
-
Medium
-
Medium
-
Large
-
Large
-
Extra Large
-
One more Large
-
-
Add the large topper bead, then tie a knot as close to the bead as possible to secure the pinecone.
-
Use the extra twine to hang your pinecone from your Christmas tree, or wherever you may choose to display it.