Pinecone & Sprig Garland Tutorial

Kit Contents:
-
Sprigs: 80
-
Pinecone layers (enough for 7 small, 6 large)
-
Small spacer beads: 95
-
Large topper beads: 13
-
Brown twine (for garland)
-
Natural twine (for pinecones)
-
Needle
-
Shaping tool
To Have on Hand:
-
Scissors (for cutting twine)
Instructions
Craft Time: ~3 hours
Sprig Garland
-
Fold each sprig in half, lining up the holes.
-
Use the shaping tool to gently curl the leaves outward on both sides of the fold. Each side should curl in opposite directions to add shape and dimension. Be sure to hold the base of each leaf as you curl it so the paper doesn’t tear.
-
Repeat for all 80 sprigs.
-
Remove the brown twine from the belly band. Measure 6 inches and pinch it with your fingers. Fold that 6-inch section in half and tie a knot to create a loop.
-
Thread the opposite end of the twine through the needle.
Tip: Cut a small strip of paper and fold it in half lengthwise. Place your string in the crease. Push the folded paper through the eye of the needle, then pull it all the way through until the string comes with it. -
Weave the needle through the holes at the base of each sprig, one sprig at a time. Keep all sprigs facing the same direction as you go. Or, depending on how you plan to hang your garland, you may want to string half your sprigs facing one direction, and the other half facing the opposite direction so they drape downward on both sides.
-
Continue until all sprigs are strung. Adjust spacing of sprigs if necessary to ensure garland is the desired length.
-
Tie another loop at the end to hold everything in place. Trim off any excess twine.
-
Use the loops to hang your garland on display.
Small Pinecones (7 total)
-
Separate your stacks of pinecone layers. Work with one stack at a time. Use the shaping tool to gently curl each pinecone scale downward.
-
Cut an 18” inch piece of natural twine and thread one end through the needle.
-
String a small spacer bead onto the twine. Stop when the bead reaches halfway. Loop the needle back through the spacer bead in the same direction to secure it in place. Ensure it is centered on the twine.
-
Remove the needle, and thread both ends of the twine through the needle together.
-
Stack the pinecone layers onto the double-strung twine in this order, placing a spacer bead between each one (refer to the diagram below):
-
Small
-
Small
-
Medium
-
Medium
-
Large
-
One more Medium
-
-
Add a large topper bead, then tie a knot as close to the bead as possible to secure the pinecone.
-
Use the extra twine to hang your pinecone from the garland. Feel free to vary the hanging lengths for a staggered look. Trim any excess twine once it's in place.
-
Repeat for all 7 small pinecones.

Large Pinecones (6 total)
-
The large pinecones follow the same process, with a slightly different order for stacking the layers.
-
Work with one stack of pinecone layers at a time. Use the shaping tool to gently curl each pinecone scale downward, ensuring the gold foil edge faces outward.
-
Cut an 18” inch piece of natural twine and thread one end through the needle.
-
String a small spacer bead onto the twine. Stop when the bead reaches halfway. Loop the needle back through the spacer bead in the same direction to secure it in place. Ensure it is centered on the twine.
-
Remove the needle, and thread both ends of the twine through the needle together.
-
Stack the pinecone layers onto the double-strung twine in this order, placing a spacer bead between each one (refer to the diagram below):
-
-
Small
-
Small
-
Medium
-
Medium
-
Large
-
Large
-
Extra Large
-
One more Large
-
-
Add a large topper bead, then tie a knot as close to the bead as possible to secure the pinecone.
-
Use the extra twine to hang your pinecone from the garland. Feel free to vary the hanging lengths for a staggered look. Trim any excess twine once it's in place.
-
Repeat for all 6 large pinecones.

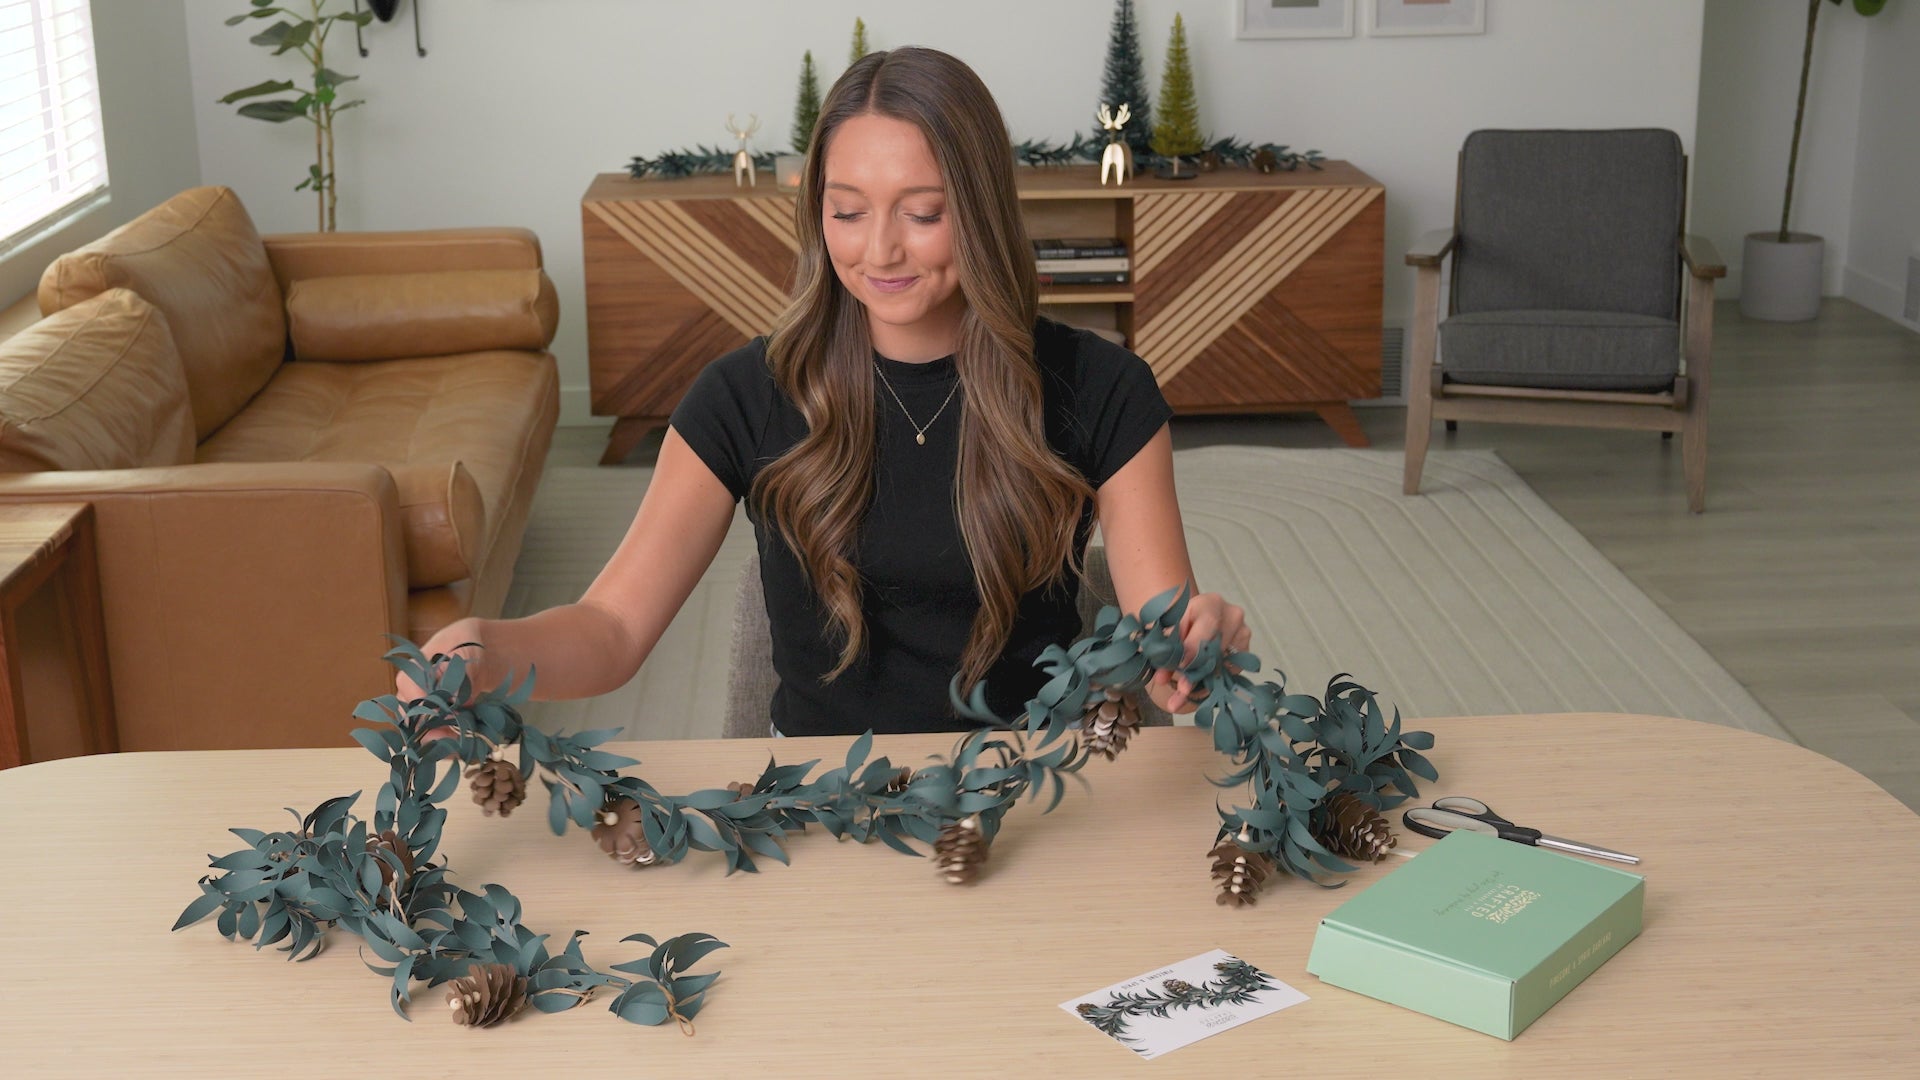
Display Your Piece
Hang your Pinecone & Sprig Garland on a mantle, shelf, or doorway to bring handmade magic into your home.
Show off your creation! Tag us @craftedbyc9 and use #CraftWithCrafted on social media.