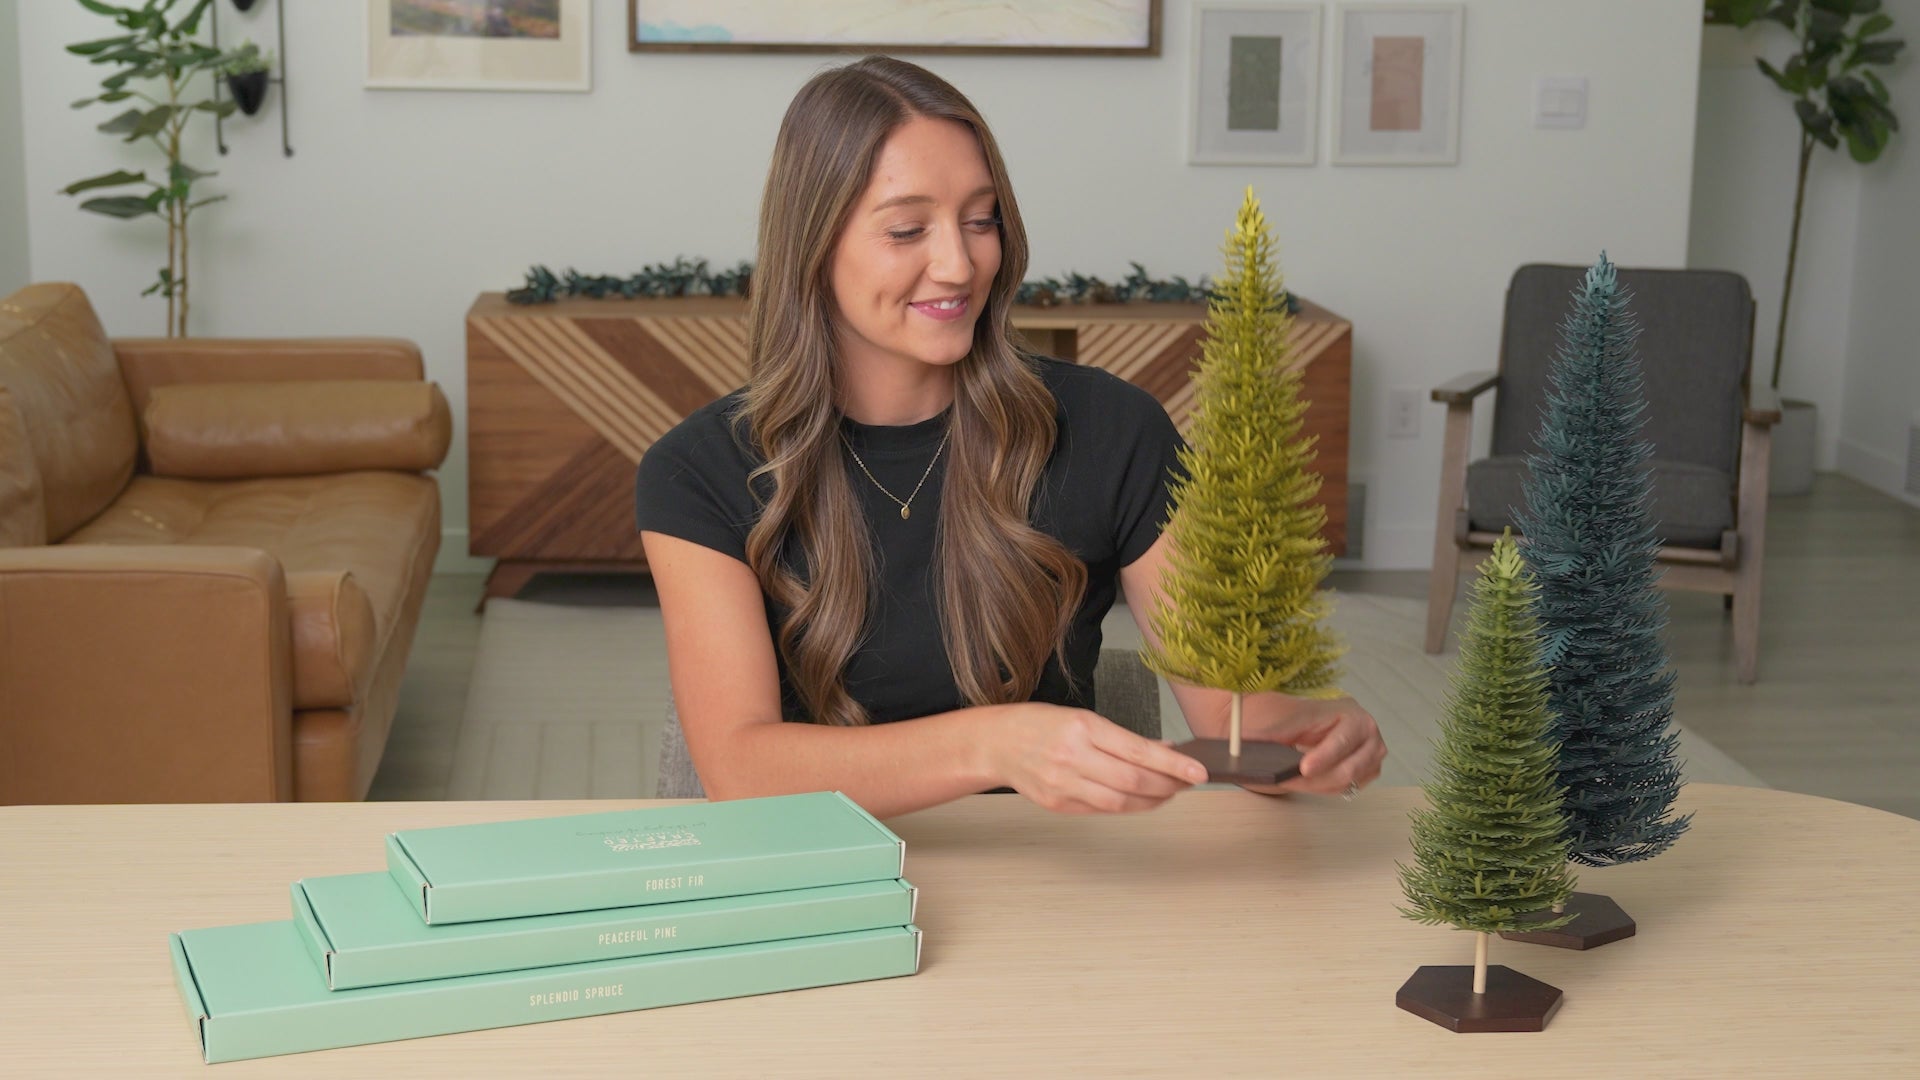
Splendid Spruce Tutorial

Kit Contents:
-
Wood base
-
Dowel
-
Trunk
-
Boughs: 112 (14 sizes)
-
Spacers: 65
-
Tree topper
-
Glue
Instructions
Build the Base
-
Open your glue bottle by removing the stopper, then screw the valve back on. Add 1-2 drops of glue into the hole of the wood base. Insert the dowel.
-
Slide the hollow trunk down the dowel until it rests on the base.
-
Set aside to dry.
Assemble the Boughs
-
Separate the boughs by size. Start with the largest size (#14).
-
Using your fingers, gently curl the ends of each bough to add shape and character.
-
Take 2 boughs and slide them down the dowel on top of the trunk, staggering them slightly for a fuller look.
-
Add a spacer on top.
-
Continue the pattern—2 boughs, 1 spacer—until all 8 boughs of that size are used.
-
Repeat the steps above with the next size bough. Curl, stagger, and layer them onto the dowel, separated by spacers.
-
Repeat until you've used all the boughs and your tree has taken shape.
-
Add one more spacer on top.
Finish with the Topper
-
Place the topper bough onto the dowel.
-
Repeat until you've used all the boughs and your tree has taken shape. Leave a little space for your topper piece—you may find you only need 6 of the smallest boughs instead of all 8.
-
Add a small drop of glue to each branch of the topper. Fold the topper into a cone shape and press the glue into the top spacer. *It may be helpful to glue 2 branches at a time. Hold for 30+ seconds until the glue sets.
-
Curl the tips of the topper to finish.
Display Your Piece
Place your Splendid Spruce on a mantle, shelf, or anywhere that needs a festive touch.
Show off your creation! Tag us @craftedbyc9 and use #CraftWithCrafted on social media.